Vegetables can be cooked both in or on a campfire. That’s right: both ways. The keys to perfectly cooked veggies are timing and coverage.
Depending upon what else you are cooking, such as meat, you’ll need to put some veggies on (or in…more on that later) the fire much sooner than your steak, chicken, fish, bison, or whatever meat you’re planning on for your family’s meal.
Different Types of Veggies
Long Cookers
- Potatoes
- Carrots
- Brussels Sprouts
- Corn on the Cob
Medium Cookers
- Onions
- Broccoli
- Yellow squash
Short Cookers
- Corn (off the cob)
- Mushrooms
- Peas
- Zucchini
- Asparagus
You’re not going to be able to simply toss something like baby carrots into foil with fish and expect them to cook. The fish will be done long before the carrots even think about cooking. Because of this, separating your meat and veggies when cooking over or on a campfire is generally a good idea.
Since foil retains moisture and moisture steam-cooks your veggies, it will be your friend while campfire cooking. While it’s possible to place asparagus and the like on a grate over the campfire, keeping them from falling in is another task entirely.
Use two pieces of foil to double wrap each pouch of veggies.
Pre-Pret

You don’t need to wait until the last second to slice up your veggies and get them campfire ready. Chop, slice, dice, or julienne your veggies before you leave for your trip.
You can even take it a step further and create your nicely seasoned foil pouches, refrigerate them, and then take them out an hour before you plan on cooking them to get your veggies at room temperature so they cook more uniformly.
The Bed of Coals Method

For this method, you’ll first need to have a fire that burns long enough to create a good bed of coals/embers. These are the best conditions to cook in, period. This way, the fire is more subdued and heat is more consistent. Stir up the coals to even out the heat, put veggies in foil and place them right on the coals.
Do not bury the pouches for two reasons: first, your metal tent of veggies will get super hot and untouchable. Second, if it’s dark out, you may not find the pouch until the next morning…unless a critter finds your food first. This pouch method is fantastic for carrots and sliced potatoes.
Carrots

Carrots are not tricky, but they take far longer than you’d think to cook well. Depending upon what you like in a cooked carrot (some do like to see the delicious orange turn a little brown on the edges), unsliced baby carrots easily take just as long as potatoes to cook. Most recommend cutting baby carrots into diagonal slices or halves.
Carrots are more flavorful than potatoes, so some care must be taken when selecting herbs and seasonings to complement their flavor. Salt, pepper and a little bit of oil generally do the trick, but you can add more exotic spices such as cumin, paprika, or rosemary depending what the carrots are accompanying.
Potatoes

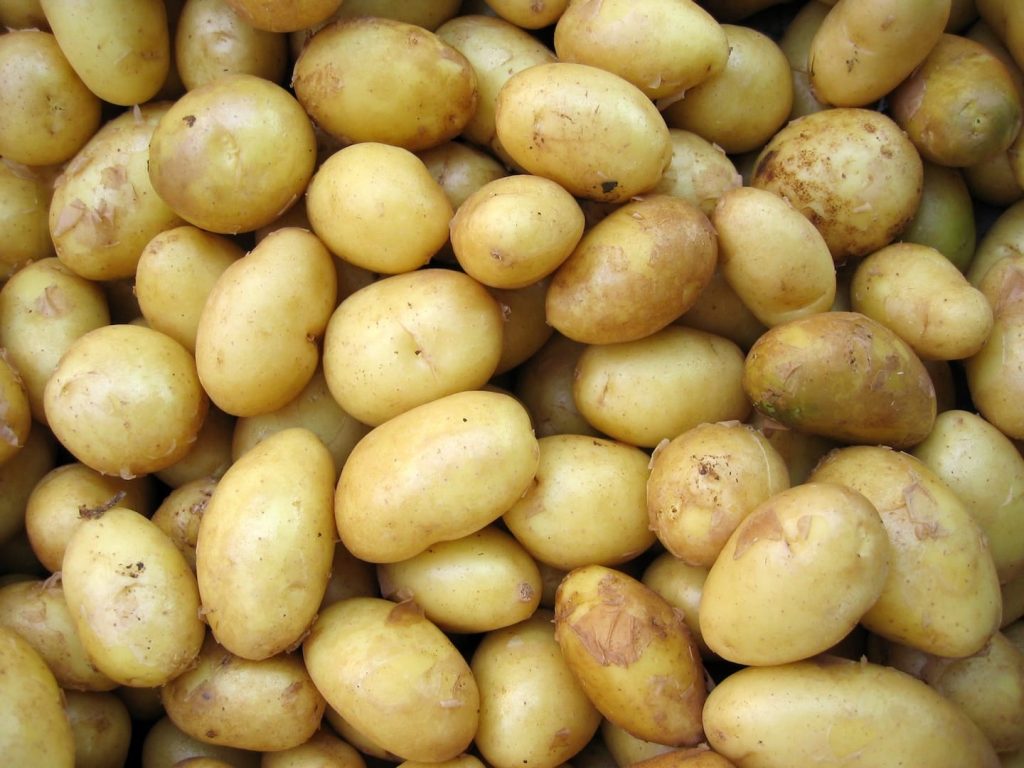
Yes, you can bake a potato in a campfire, but how much time do you have? Potatoes will take upwards of 90 minutes to properly bake. You want to go ahead and do it this way anyway? In that case, prick your tater all over with a fork. Oil and salt it. Wrap it up in a good sheet of foil. Make it a tight wrap. Rest it on the embers or close to them on a rack. Your potato is baked when a knife easily sticks into it and slides out.
If time is an issue, slice and dice your potatoes. You can cube or slice them up—the smaller or thinner they’re cut, the faster they will cook. Wash them after cutting, put them in your double-foil pouch with your favorite seasonings like garlic salt, onion powder, fresh onion slices, and a dash of cooking oil or oil-based salad dressing such as Italian to help prevent sticking (and add flavor).
You can cook them with butter, but be aware that butter burns quickly, which will cause your taters to stick to the foil like a tongue to a frozen pole. Barbecue is fun too, but barbecue sauce contains sugar and sugar will burn and stick as well. If you love your taters ‘cued, carefully open it up toward the end of the cooking cycle and mix the barbecue sauce in at that time.
Assuming you cut thin slices and small cubes a half-inch or less, you’re looking at a cooking time of about 30 minutes in a foil pouch when placed right on the hot embers.
Brussels Sprouts

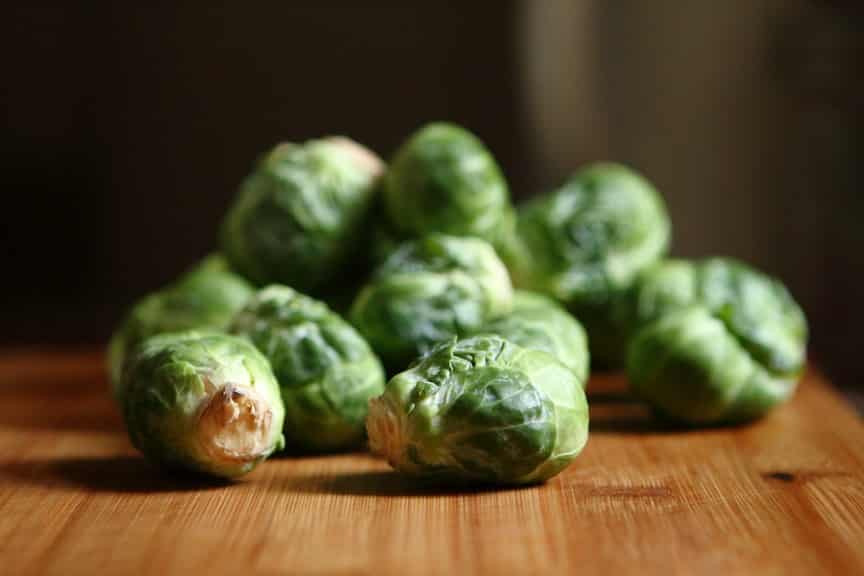
Brussels sprouts cook better exposed, but you can ‘tent’ them, leaving just enough room for air to flow through via ‘flaps’ on both sides. Cut off the ends of the sprouts, slice them in half and place the halves round side up on the semi-open piece of foil. A grate works better than cooking them straight on the embers, but you can do it both ways. They will also take some time—approximately 30 minutes, just like diced or sliced potatoes.
Sprouts love garlic. For every cup of sprouts, slice up a clove of garlic and a quarter of an onion as well. They really just need salt and pepper and oil, but you can add a vinegar-based dressing too like balsamic. Balsamic vinaigrette will caramelize and produce a sweet coating for the sprouts.
Asparagus

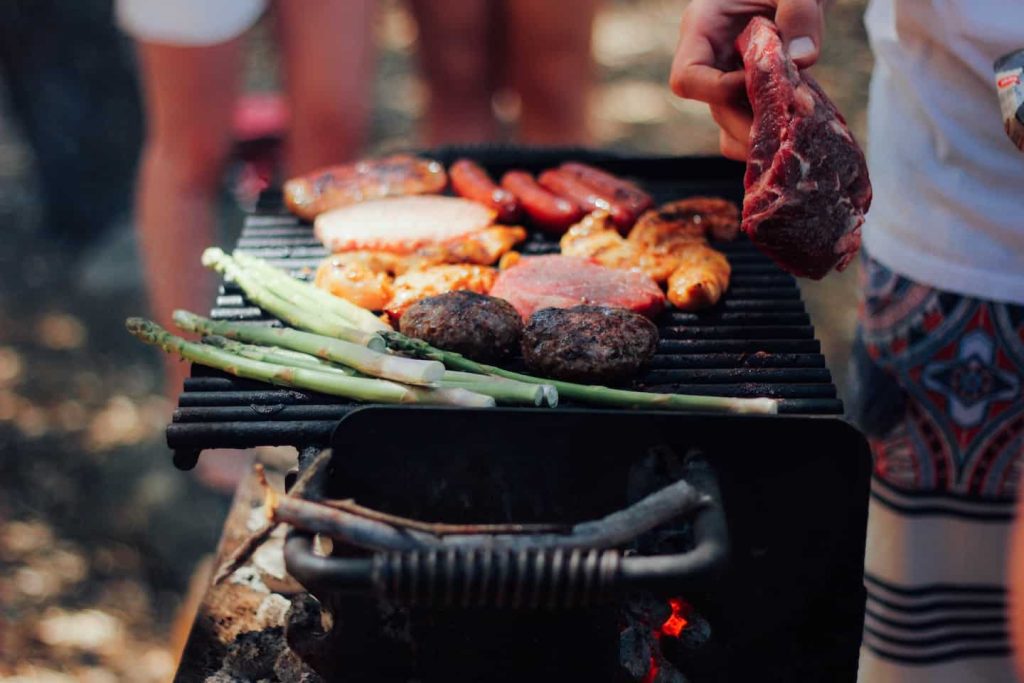
This is the perfect vegetable to cook in a hot cast iron skillet while the meat you just finished in it is cooling down. Diagonally slice off each asparagus spear’s lower end about an inch, drop them into the hot skillet with some minced garlic, salt, and pepper, maybe some Italian dressing and cook for 5 minutes (depending upon the heat of the skillet), turning once.
Some of you may like those grill marks on your asparagus. If that’s you, you’ll need a rack to put over the fire. With this method, you may want to marinate your spears first, let them soak in a bit of flavor in an oil-based dressing like Italian dressing then drop them onto the rack. Cook about 5 minutes and finish them off by rolling the spears in Parmesan cheese.
Corn on the Cob

Sweet corn fresh from a farmer’s market is best. If you cannot get sweet corn, you can sweeten it by mixing sugar and water together, dropping the corn into the pan unhusked and letting it soak for an hour.
If you have foil, husk the corn. If not, peel back the husk and ‘stuff’ ingredients into it, then put the husks back into position.
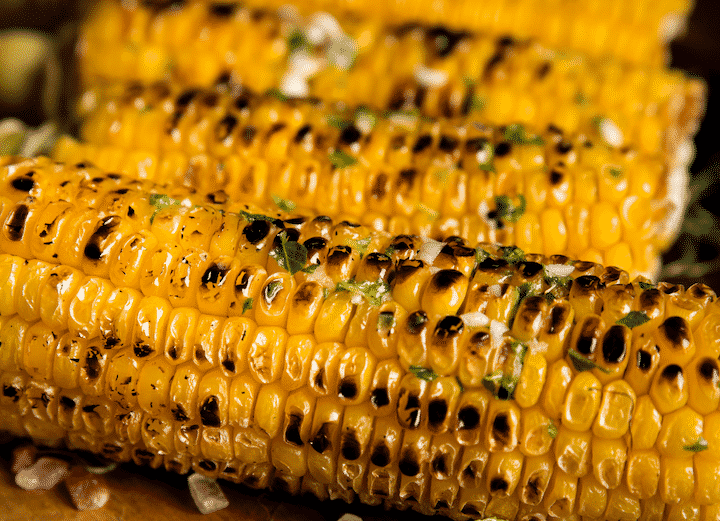
Seasonings can vary but salt and butter are pretty much a given. Use about one tablespoon of butter per ear and sprinkle with salt. You can add other ingredients to taste. Garlic powder, minced garlic, paprika, cayenne pepper—but be stingy with any of these because corn is a delicate side dish that is powerless to strong herbs and spices.
Corn on the cob should take no more than fifteen to twenty minutes in foil or inside their husk. To cook, just sit them on the hot embers and turn often. Without a grate or rack, foil is better as the husks can allow embers inside, burning your corn or simply making it taste bad.
If you have your own special recipe you’re willing to share with these or other side dishes, drop it into the comments!


