Ever feel like your RV’s air conditioner just isn’t cutting it? In addition to regular maintenance, RV Airflow Systems are easy-to-install tools that can improve your air conditioner’s performance. But how do they work? And can you install them yourself? Let’s find out.
Table of Contents
ToggleWhat is the RV Airflow System?
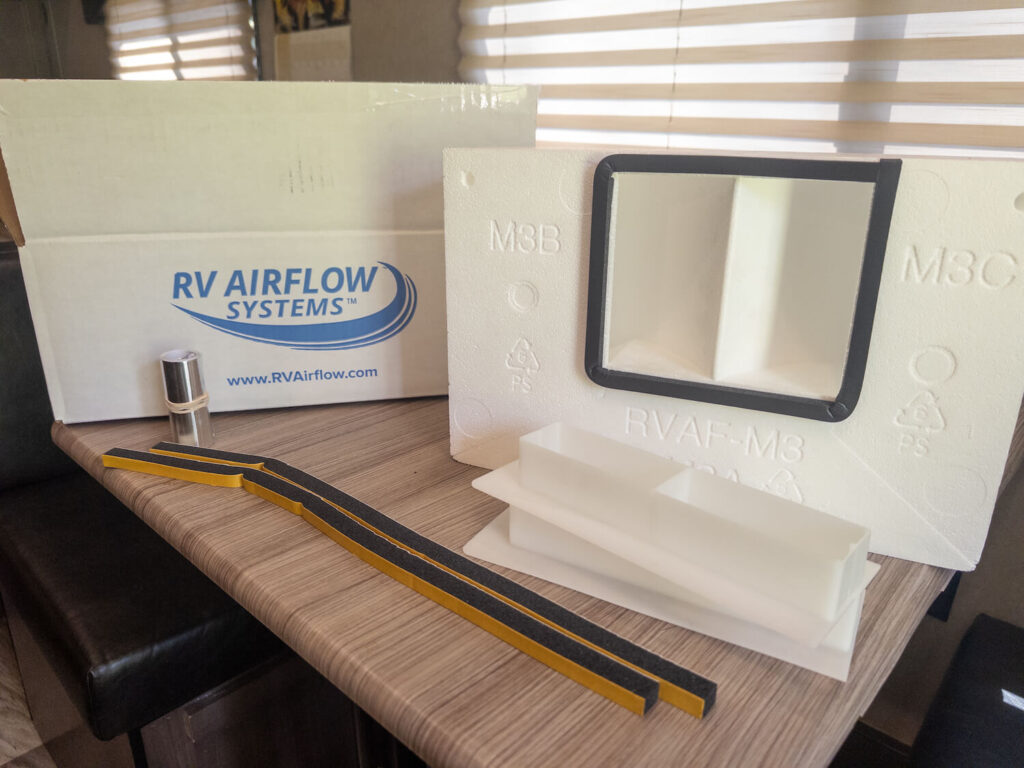
The RV Airflow System captures discharged air and redirects it into your RV’s ductwork. This increases the airflow in your system, improving your A/C’s efficiency, and also reduces the overall AC noise. It installs between the bottom of your A/C and the cover plate.
It’s available for several A/C makes and models, such as the Coleman Mach 3, 10, and 15, the Coleman Mach 8, the Dometic Brisk Air 2, the Dometic Penguin 2, and GE A/C units.
The downside is that it eliminates the quick cool feature if your A/C has one. However, the improved efficiency largely negates the need for a quick cool.
Technician Tip: Your A/C quick cool should only be opened briefly to cool the inside coil so the setpoint is reached more rapidly. Leaving them open all the time can freeze the inside coil.
How to Measure for the RV Airflow System
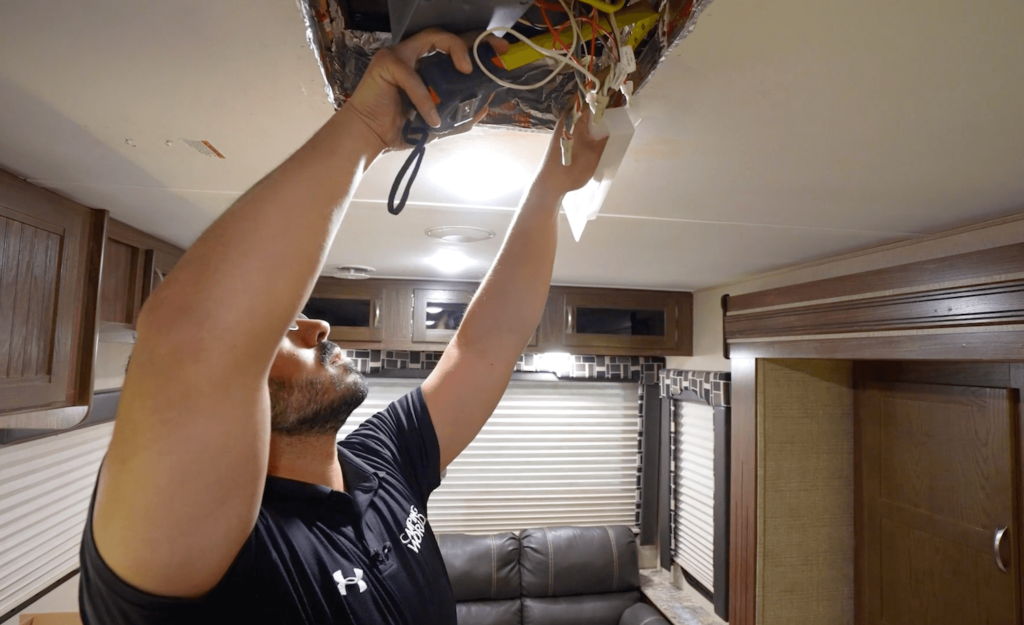
You’ll need a compatible airflow system to install in your RV, so here’s how to check if they’ll fit in your unit. But first, a key definition…
An air conditioner’s plenum is responsible for bringing in, distributing, and removing air.
- Remove the air conditioning ceiling assembly to access the plenum area.
- Measure the plenum depth. It must be between 5.25 and 5.5”
- Measure the plenum width. It must be at least 13.75” – the standard is 14”.
- Measure the opening size of the ducting. It should measure 1.5” x 7.5” for optimal efficiency.
- Verify the vertical location of the ductwork. The ducting’s upper opening must be 2.375-2.5 inches from the bottom of the air conditioner.
How to Test Your A/C’s Airflow and Noise Output
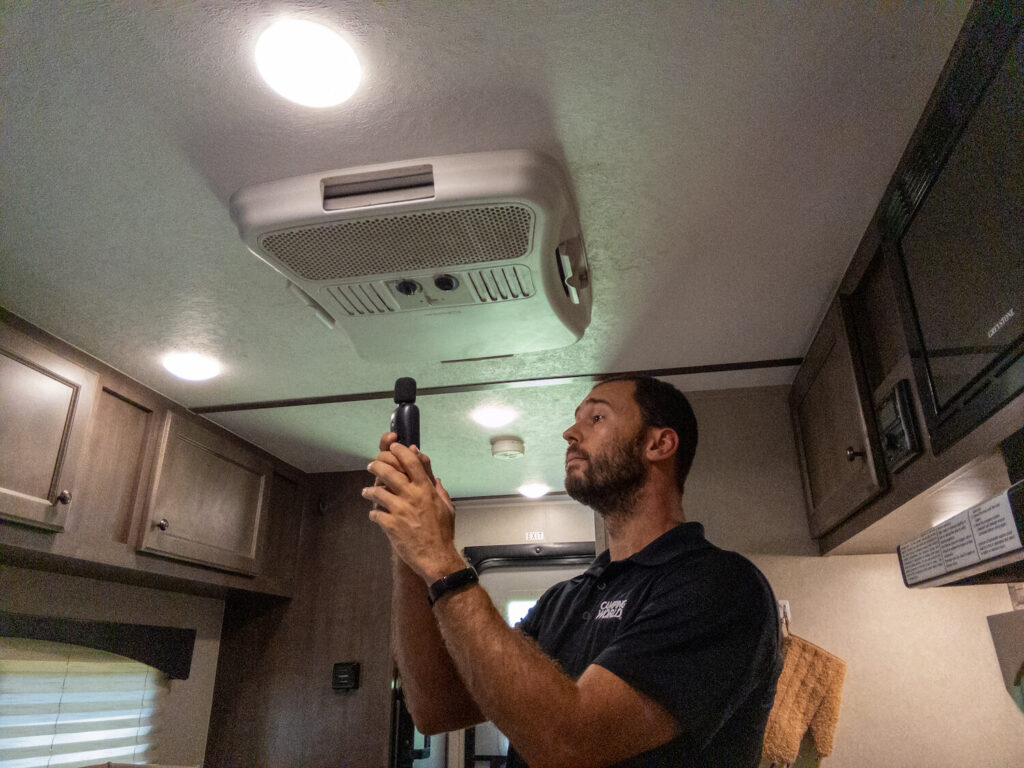
Before we proceed with an installation, let’s get a baseline for your RV’s current A/C airflow and noise outputs. This will help you compare your A/C’s performance with and without the RV Airflow system.
You’ll need an anemometer for testing airflow and a decibel meter for testing noise output. When testing noise output, simply stand below the A/C unit inside your RV and hold the decibel meter at eye level. Record your reading for reference.
Technician Tip: Measuring tools must be used in accordance with manufacturer instructions to collect accurate data.
For testing airflow, turn your A/C unit on and place the anemometer next to each vent inside your RV. Test and record the airflow reading at each vent and note which vent you recorded. You can also add up your totals and divide by the number of vents to get an average airflow throughout your entire RV.
With these metrics recorded, you can set those helpful tools aside and proceed with your RV airflow installation.
How to Install the RV Airflow System
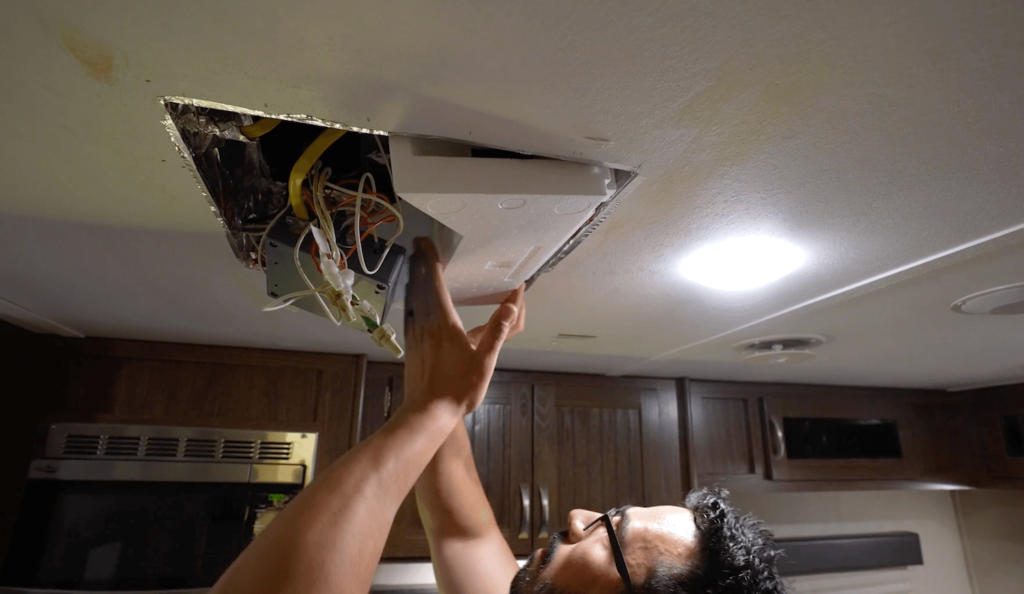
Once you’ve determined your air conditioner can fit the RV airflow system and you’ve found a compatible model, here’s the basic installation procedure:
Technician Tip: The installation procedures may differ slightly for this system’s Coleman, GE, and Dometic variations.
- Remove the air filter cover and air filter.
- Remove the air conditioning ceiling assembly to access the plenum area. We won’t reinstall the air shower plate or the air divider.
- Take three measurements to determine whether you’ll need to install duct adapters: (1) From the upper opening of the duct to the bottom of the A/C; (2) the height of the ducting; and (3) From the bottom of the duct to the upper portion of the mounting bracket.
- Remove the mounting bracket. Check for gaps in corners and seals. Use seal tape to fill gaps and seal seams as needed.
- Install duct adapters if needed and use seal tape to secure them.
- Trim duct inserts as needed to fit duct width.
- Install seal around back of duct insert flange, facing inward to the duct.
- Install duct inserts.
- Install the diverter at a 45” angle, riding on duct insert flanges as you gently push it upward and into place on the “air supply” side until the bottom is flush with the opening.
- Check bolt-hole alignment.
- Reinstall the mounting bracket. Front lag bolts first, followed by the rear.
- Apply the tension to compress the gasket. Recommended ¼” of compression (or 20-30 inch pounds).
- Turn the air conditioner on to test for loss of air supply. Use seal tape to ensure tight installation as needed.
- Seal air shower vents with seal tape, as desired.
- Reinstall ceiling assembly, air filters, and filter covers.
How to Measure for an Improvement in A/C Efficiency
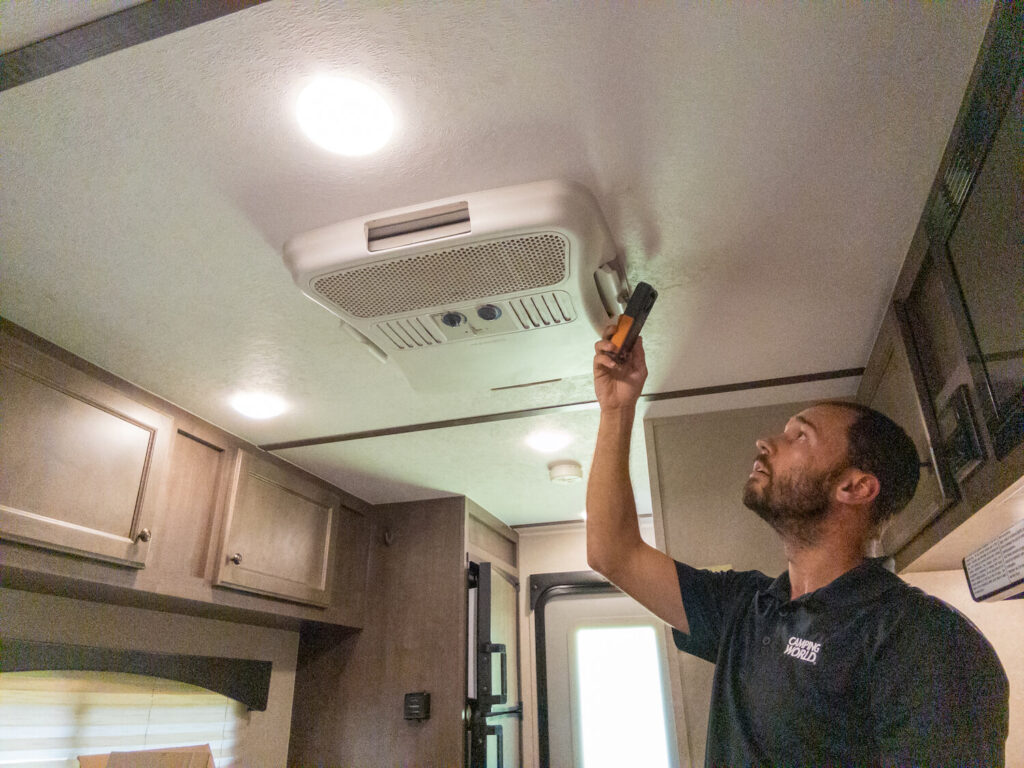
Take out your anemometer and decibel meter again to test airflow and noise output after installation. You’ll test noise output at eye level while standing below the A/C unit. Test airflow at all vents throughout your RV. Record all airflow totals before adding and averaging them.
You can now compare your before and after readings to measure airflow changes at each vent. You can also use your average to calculate the percentage of airflow increases throughout your entire RV.
To calculate the decibel decrease, simply subtract the “after” noise output from the “before” noise output. The smallest change that most humans can perceive is roughly three decibels.
Technician Tip: The installation is easier than installing a roof vent or A/C from scratch, and the system really does work. In more challenging units, you may have to do additional system tuning by adding or modifying duct drops to get proper airflow through the unit. In smaller units, they aren’t really beneficial because the fan is drastically oversized, to begin with. But on medium to large rigs, they truly shine.
Even the best-laid RV plans can be ruined if you’re stuck in a hot, muggy interior. So here are a few more tips to stay cool and keep your air conditioner in the best condition for camping in hot weather:
- How to Maintain Your RV’s Air Conditioner
- How to Stay Cool While Camping in the Heat
- All of Your Questions About RV Air Conditioners Answered
What questions do you have about the RV airflow system? Tell us in the comments below.


Great stuff.
I saw these several years ago and wanted one until I saw the cost. Instead I made sure all the air leaks were sealed and the baffle in proper position. Then I cut a wedge on top of a 2X4 (45 degree angle on each side of center line) and installed that in center of air stream from the fan. It split the stream and directed each side right into the ductwork feeding each side. I did this on our Crossroads 291RK first then when we replaced that with a motorhome, I also did it on that. On both the airflow was dramatically increased. This did look like a great product and based on the design would do the same thing. I didn’t want to spend that much and it was questionable if it would fit the Crossroads based on measurements. I would still recommend this product if the buyer was willing to pay the price.
Should include some pictures
Hi Jeff! Are there specific steps you’d like to see illustrated? I’m happy to try to track some additional photos down for you.
I have the RV Airflow units on my Coleman Mach 10 Heat pumps. They do as advertised as far as improving air flow.
I found that adding sound deadening material (Amazon) made from Butyl rubber and aluminum to all exposed interior surfaces (both metal and styrofoam) significantly quieted down the fan noise so that we no longer need to adjust the TV volume whenever the AC turns on/off.
Thanks for this pro tip Marc!
All the 3 links don’t work for me:
How to Maintain Your RV’s Air Conditioner
How to Stay Cool While Camping in the Heat
All of Your Questions About RV Air Conditioners Answered
They all result in this error message:
Error establishing a database connection
That’s strange Paul, but I apologize! I’ll add the links here again to hopefully give you a path to those articles:
https://cwblog.cwmkt.app/learn-to-rv/maintain-air-conditioner/
https://cwblog.cwmkt.app/learn-to-rv/how-to-stay-cool-while-camping-in-the-heat/
https://cwblog.cwmkt.app/learn-to-rv/all-of-your-questions-about-rv-air-conditioners-answered/
I have a 2019 Winnebago Outlook 22c. It has a Coleman Mach 3 AC . I just want to confirm this unit has a kit that will work on this one and any tips for installing for Coleman Mach 3 Thank You
Hi Paul,
Here is the manufacturer’s kit for the Coleman Mach 3: https://www.campingworld.com/rv-airflow-coleman-mach-310-and-15-ac-with-air-shower-131991.html
I’d also recommend heading over to the manufacturer’s website for more information: https://rvairflow.com/
Hope that helps!