There are many benefits to owning a boat, from pulling kids on towable tubes to practicing your wakeboarding skills and everything else in between. Yet all boat owners need to know how to dock their boat safely, and mooring whips are a great tool to help you do just that.
Table of Contents
ToggleWhat is a Mooring Whip?
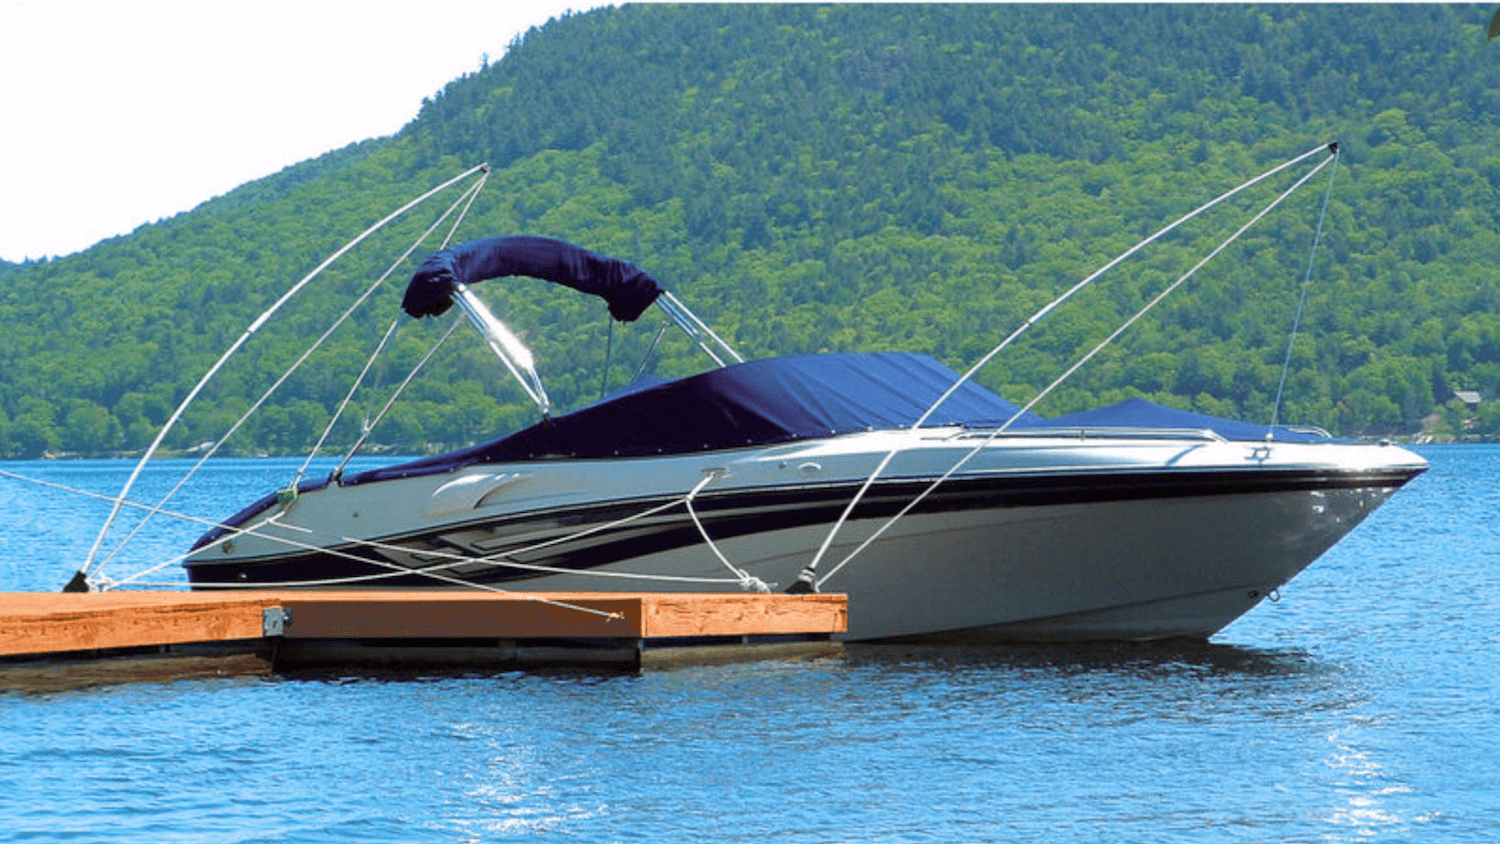
Mooring whips are specially designed fiberglass poles that resemble long fishing rods. These poles are typically mounted to the edge of a dock using durable aluminum bases. A marine-grade rope line runs from the base of the pole up through a pulley at the top and then back down.
How Do Mooring Whips Work?
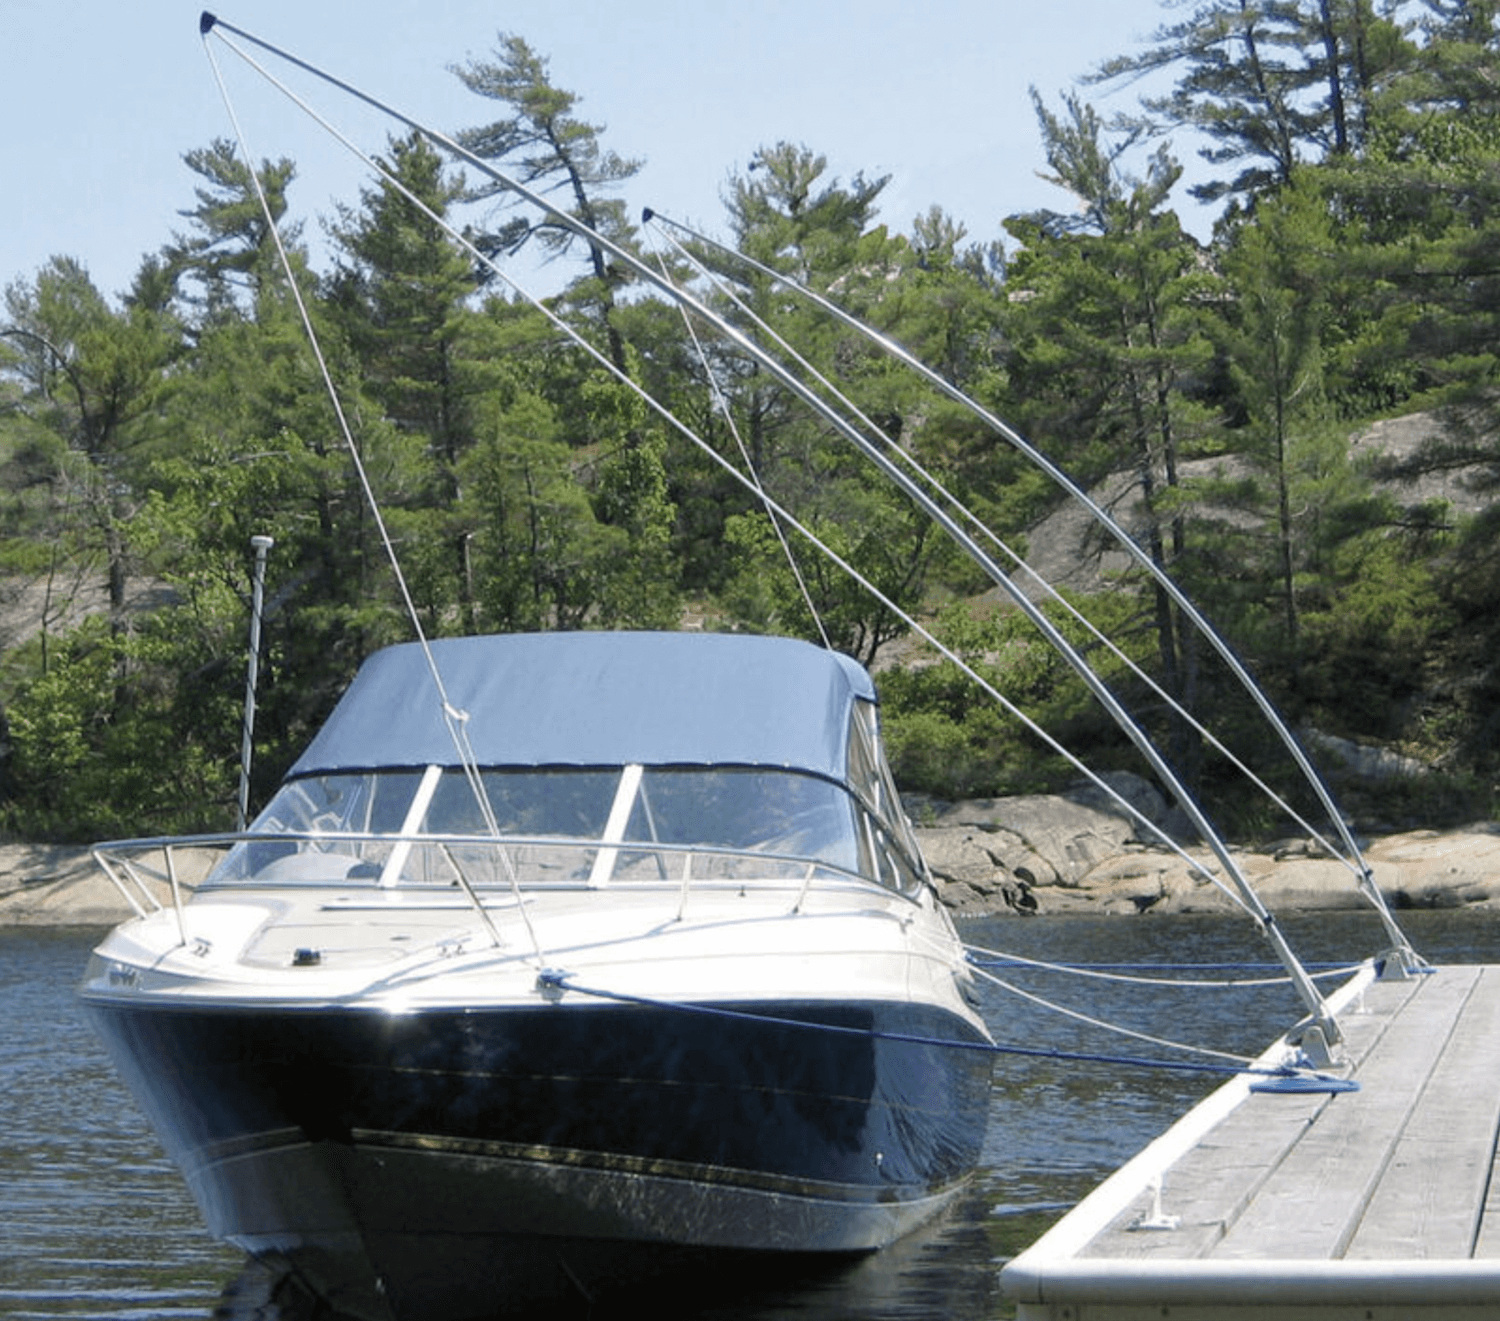
Mooring whips utilize variable pressure to pull your boat away from the dock and hold it in place. When the end of the line running through the pulley is tied to a cleat on your boat, the poles bend out and away from the dock.
Many also secure spring lines that help to hold your boat in place and prevent damage from bumping or rubbing against the dock. These spring lines can have a minimum and maximum length, depending on the design of the whips.
Some boaters alternatively use mooring buoys to anchor their boats away from a dock. However, that requires using a smaller boat, kayak, or personal watercraft to get back and forth from the boat to shore. Mooring whips keep your boat away from the dock while still providing easy access to it when you’re ready to hit the water.
How to Install Mooring Whips
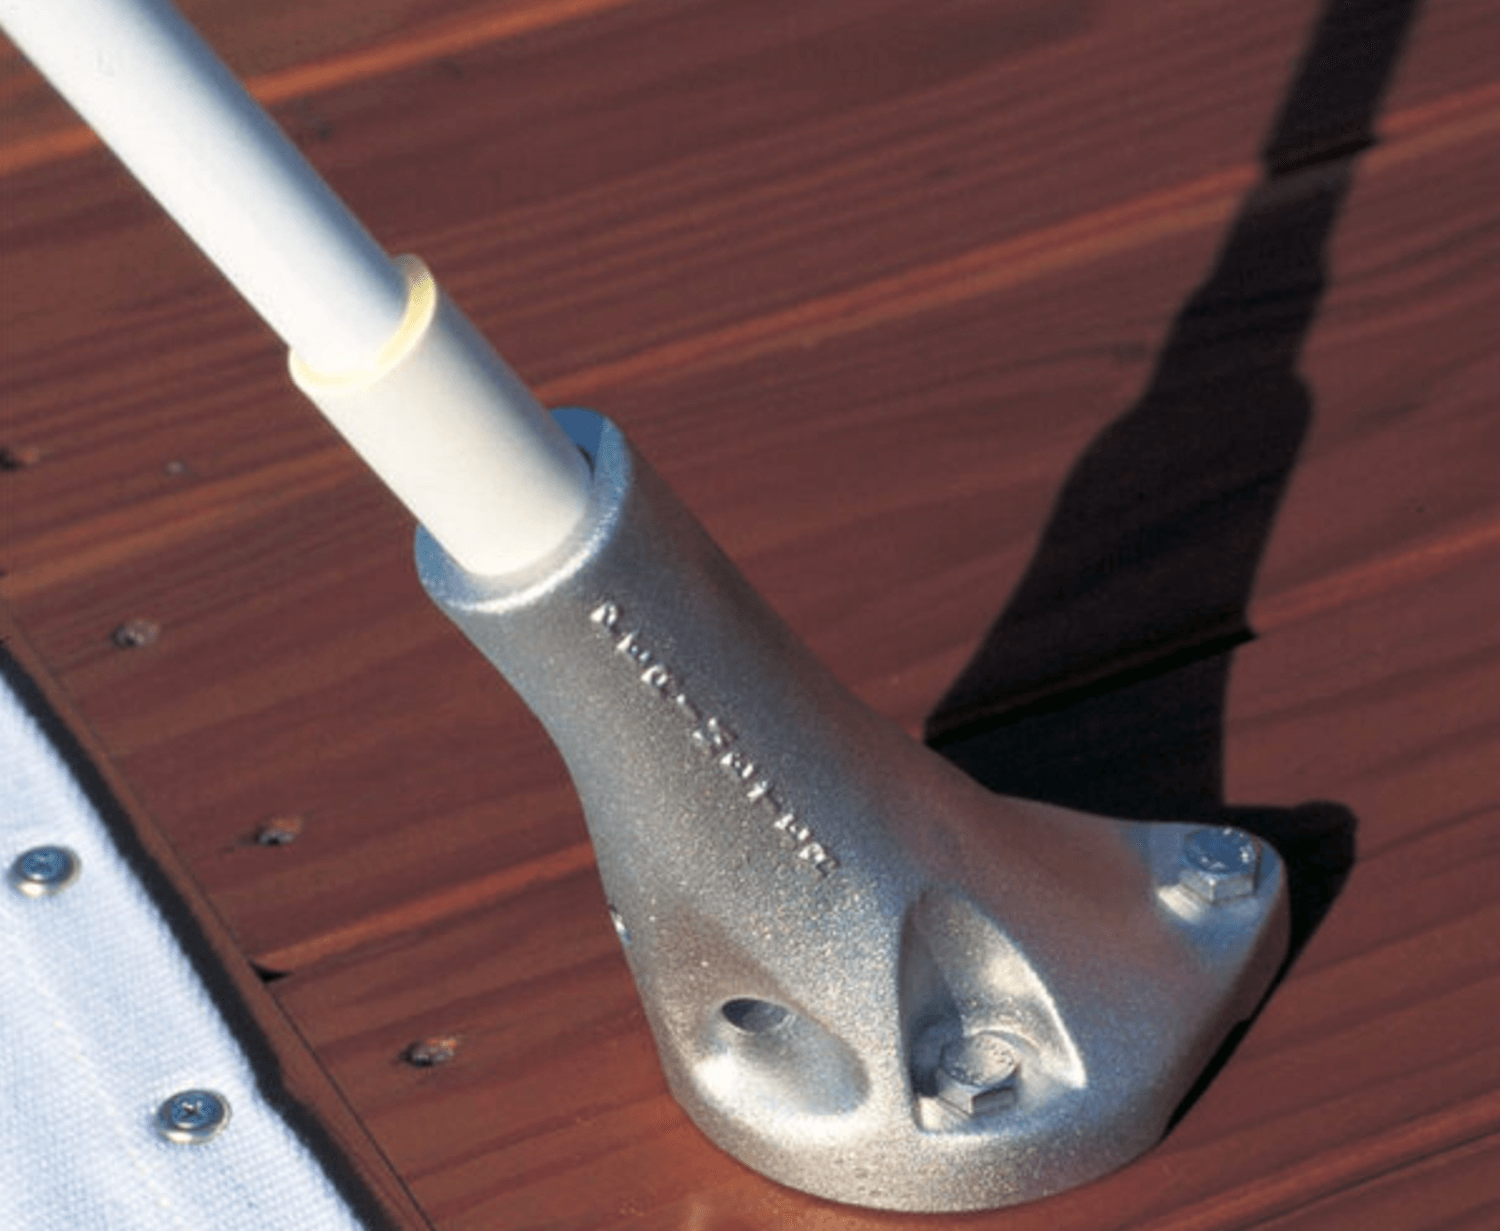
The instructions for installing whips on the edge of your dock will vary depending on the manufacturer. Most smaller boats require two whips to secure the fore and aft cleats, so you’ll need to ensure the whips are spread the correct distance apart to hold your boat in place.
Most manufacturers recommend a whip separation that matches two-thirds of your boat’s overall length. It’s smart to install mooring whips on the side of the dock with the most protection from the wind.
Here are some basic steps for installing mooring whips:
1. Align bases with your boat’s cleats.
2. Secure the bases.
3. Assemble the whip poles.
4. Feed the whip lines through the rollers at the tips of the whip poles.
5. Install the poles into the bases.
6. Attach the pole cleats.
Remember that your owner’s manual is your best resource for exact installation instructions.
How to Use Mooring Whips to Protect Your Boat
Once you’ve followed the manufacturer’s detailed instructions for installing your dock whips, it’s time to learn how to secure and adjust them. This comes after slowly maneuvering your boat alongside the dock.
Step 1: Attach Lines
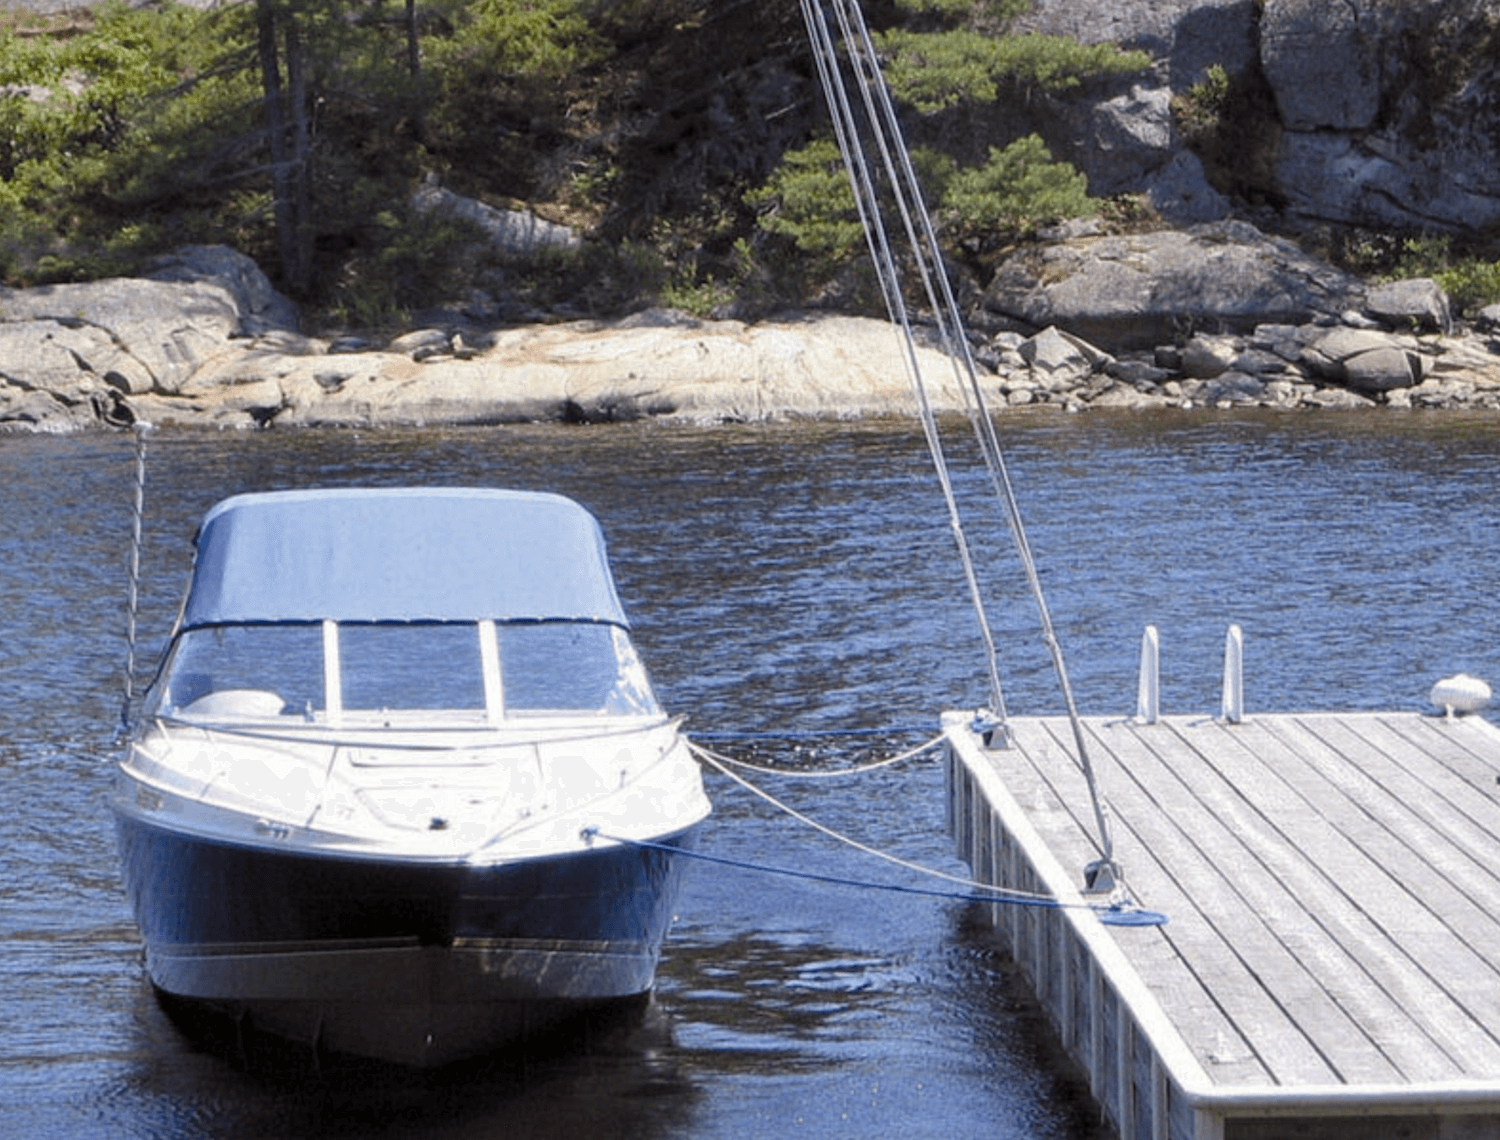
Start with the bow and stern lines running from the whip poles to your boat. Don’t tie them to your boat’s cleats yet, but connect them to your boat for easy access. The eyelet at the bow is a great place for your bow line, and the port-side handle works great for the stern line.
Then attach spring lines to their fore and aft anchor points. Now you can return and secure the bow and stern whip lines to your boat’s cleats using a cleat hitch knot for each.
Step 2: Tighten Bow Whip Line

Now pull your boat over to the dock carefully and climb out. Move to the bow whip line and untie it from the cleats on the whip and the base. Pull the line to tighten, and you should see the whip begin to bend.
The poles should be slightly bent but without too much tension. Your owner’s manual will provide recommendations on the proper amount of tension to place on your mooring whips.
After tightening the bow line, allow the boat to float away from the dock until the bow, stern, and spring lines stop it. You can then readjust the tension if needed.
Step 3: Repeat for the Stern Whip Line

Then move to the stern whip line and repeat the process. You want the same amount of bend in both whips to avoid placing too much stress on one. Both whip lines should be tied to the base and upper cleats on their respective whips using cleat hitch knots.
Step 4: Secure Additional Bow and Stern Lines

Many boaters also secure additional lines from the bow and stern to the dock. These can go to the same dock cleats as your spring lines and affix to the bow eye and the port-side handle on your boat.
How to Untie Your Boat from Mooring Whips
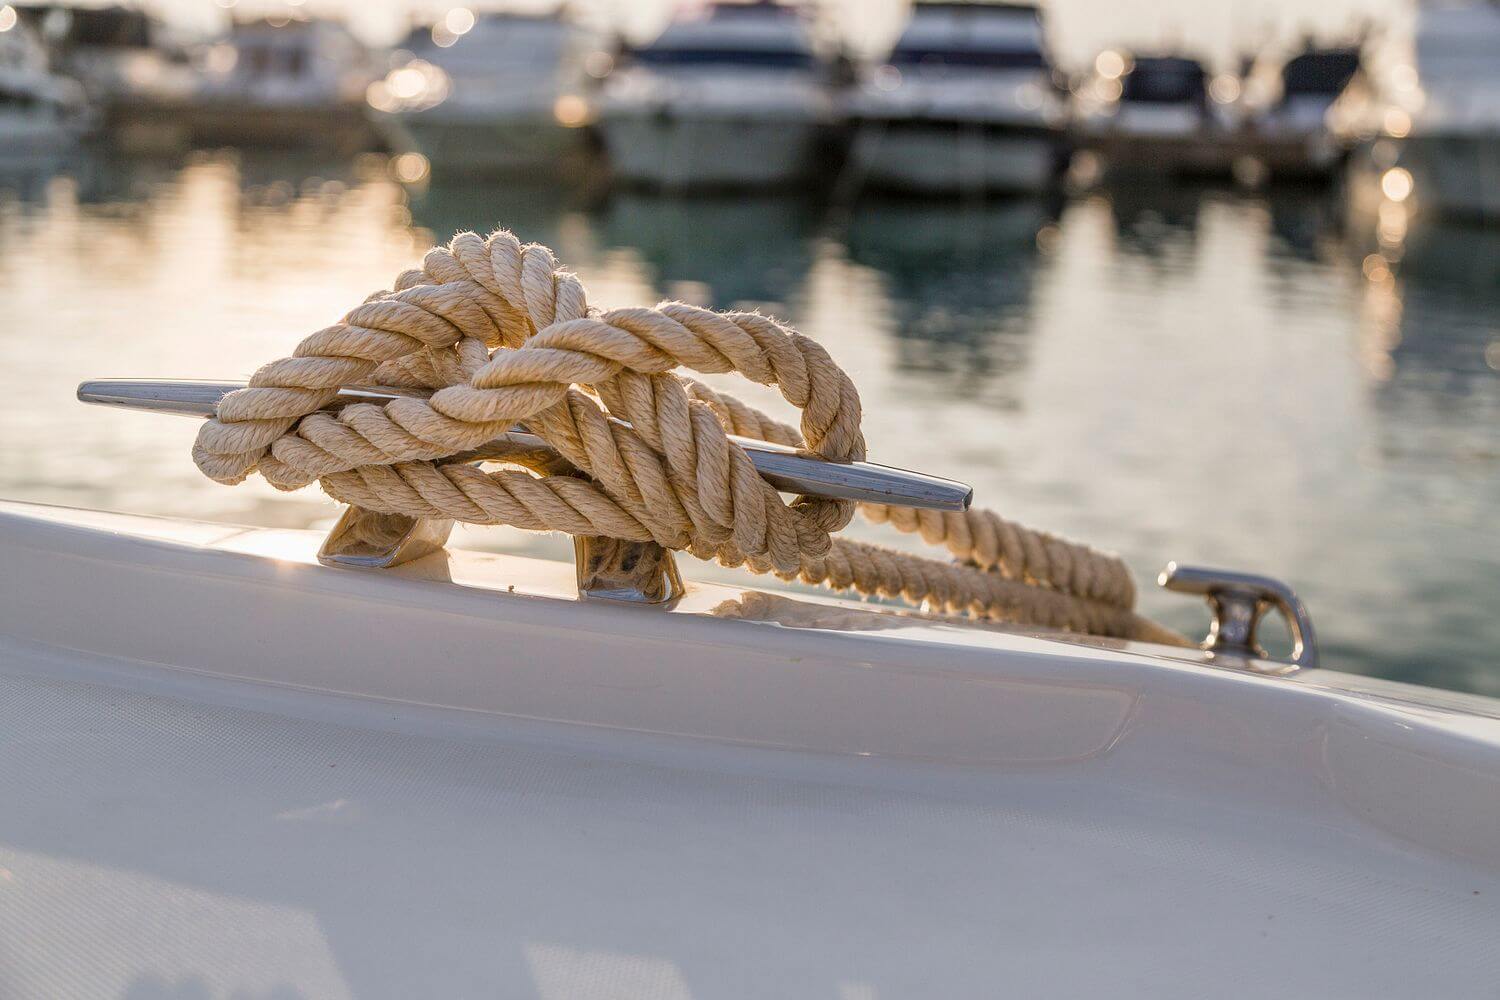
When you’re ready to take your boat out, start by untying the bow line from the base and upper cleats on the whip. Let the tension out of the line, but be careful not to let go of it.
Tie a figure-eight knot at the end of the whip line to prevent it from running out through the line roller if you happen to lose grip.
Once you let the tension off, pass the line under the base cleat and secure it to the upper cleat with a cleat hitch knot. Repeat this process to release tension from the stern whip line and secure it.
Use the lines to pull your boat towards the dock and climb in. Untie the bow and stern lines from their cleats on your boat and hang the lines from the upper cleats on the whips to keep them out of the way.
Next, unhook the spring lines from the bow and stern of your boat and place the unhooked ends on the dock. Finally, disconnect the bow and stern lines from your boat and toss them onto the dock before gently shoving off and idling clear of the dock.
Other Accessories to Protect Your Boat

Dock whips alone are a great solution to keeping your boat anchored away from your dock. But they are also commonly used with boat fenders or dock bumpers to ensure the highest level of protection.
For more tips to protect the investment you’ve made into one of the best pontoon boats (or any boat for that matter), these resources should prove useful:
- How to Tie Boat Fenders
- How to Prepare Your Boat for Storm Season
- Overton’s Complete Guide to Trailering a Boat
Do you have any questions about using mooring whips to protect your boat? Share them in the comments below!


