One of the greatest perks to camping in an RV instead of a tent is reliable cooling and heating. It’s much more comfortable to wake up and prep your coffee in a heated recreational vehicle than climbing out of a wet tent to light your camp stove and try to get a fire going.
Just like residential units, RV heating systems require regular maintenance. But how can you service or repair an RV furnace if you don’t know how it works? To maintain an RV furnace, you’ll need to know how it works.
An RV furnace heats air and then circulates it through your RV using a fan. Most RV furnaces operate on DC power even when your RV is plugged into shore power, allowing it to work at a campground or when camping off-grid.
But there’s much more to it. So let’s dive into everything you need to know about operating, servicing, and troubleshooting RV furnaces.
Table of Contents
ToggleHow Do RV Heating Systems Work?
There are two main types of RV heating systems: forced air furnaces and hydronic heating systems.
In forced air furnaces, outside air for combustion is force-fed through a sealed combustion chamber assembly and discharged to the exterior, while interior air of the RV is moved across a heat exchanger. This design ensures that no products of combustion are mixed with the interior air.
Hydronic heating systems use a heated surface to heat water that is distributed to radiators throughout the RV. That surface can be heated by burning fuel (i.e., propane or diesel), an electric element, or using primary engine coolant to heat that surface. Some hydronic heating systems heat potable water and can be used for engine preheating.
Technician Tip: All RV heating systems should have a data plate containing the manufacturer, make, model, serial number, and input and output (measured in BTUs/hour) of the appliance. This plate helps you identify your appliance for specific service and maintenance procedures. Your owner’s manual can also help you understand the type of heating system you’re working with.
How Does an RV Furnace Work?
If you’re working with a forced air RV furnace, heat is distributed throughout your RV using a blower fan that’s powered by a small motor. Most forced air furnaces burn propane to heat air, but some utilize diesel fuel (more common with hydronic heating systems).
Before we outline the process, let’s define a few key terms.
A sail switch is the first safety switch in an RV furnace. It prevents your furnace from attempting the ignition sequence if the blower motor isn’t running at a minimum of 75% of its rated speed.
A limit switch is the second safety switch. It opens at a preset temperature to prevent overheating. The limit switch is mounted on the heat exchanger or the burner assembly housing. It shuts off the burner but allows the combustion blower to continue running to lower the equipment temperature.
Safety Tip: The limit switch does NOT act as a thermostat. If your blower never shuts off, but your burner is cycling on and off at regular intervals, your RV should be inspected by a qualified RV technician immediately. This is a symptom of an overheating limit switch, which could result from blockages, faulty components, or LP gas adjustment issues that create a very dangerous situation.
When you turn on your RV furnace, here’s a general overview of what happens if it’s working properly:
- The thermostat is turned on and signals for heat.
- An electrical current is sent from the thermostat to the time delay relay built into the circuit board, which closes to energize the blower motor after a delay of 10-20 seconds. If the motor isn’t reaching 75% of its rated speed, potential issues include low DC power, a faulty motor, a blocked return air inlet, or a blocked exhaust.
- When the motor comes up to speed, the sail switch is moved by the airflow to close a micro-switch and continue the circuit. The micro-switch is set to require a minimum fan speed to close. If the motor isn’t running fast enough, you have a sticky switch, or there’s an airflow blockage that doesn’t allow the switch to close – the current will be interrupted. This circuit is independent of the thermostat and motor circuit.
- The sail switch closes, sending power to the limit switch, which then sends power to the circuit board. Under normal operation, the limit switch is closed and opens at a preset temperature to prevent overheating.
- The circuit board delays ignition for 10-20 seconds, allowing the blower motor to purge any gas remaining in the combustion chamber.
- The circuit board opens the gas valve and sends a high-voltage current to the electrode.
- If ignition occurs, the electrode senses the flame and sends a current back to the control board, stopping the high-voltage spark and keeping the gas valve open
- If ignition doesn’t occur, the board will go into lockout mode and need to be reset before trying again. Most circuit boards will pause for 20 seconds, then try for 7 seconds. They’ll repeat this three times before going into lockout.
Technician Tip: A lockout can result from a faulty circuit board, faulty electrode, faulty gas valve, or any combination of these issues. If locked out, conduct a brief inspection (LP gas on, no airflow obstructions, proper voltage, etc.) and then switch the thermostat off and back on. The circuit board should provide three more tries.
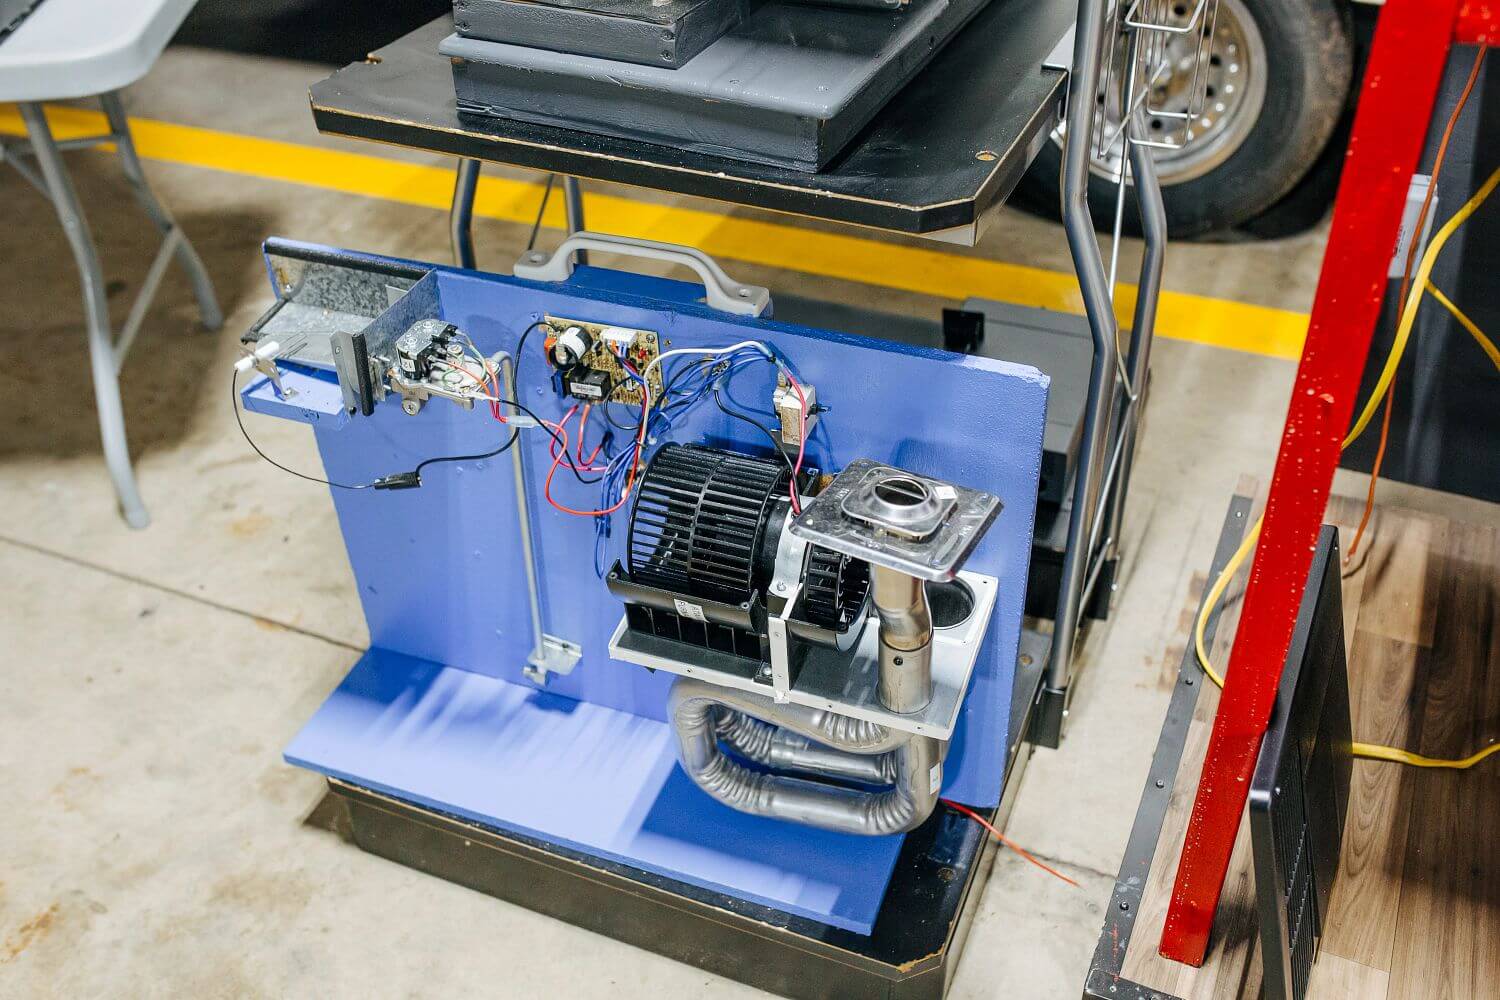
Download this RV furnace diagram for a visual example of RV furnace design. The pictured furnace is the Dometic DFMD30 Mojave Propane Heater. Yours may differ depending on the make and model. Consult your owner’s manual for the schematics of your RV’s furnace.
How to Reset an RV Furnace
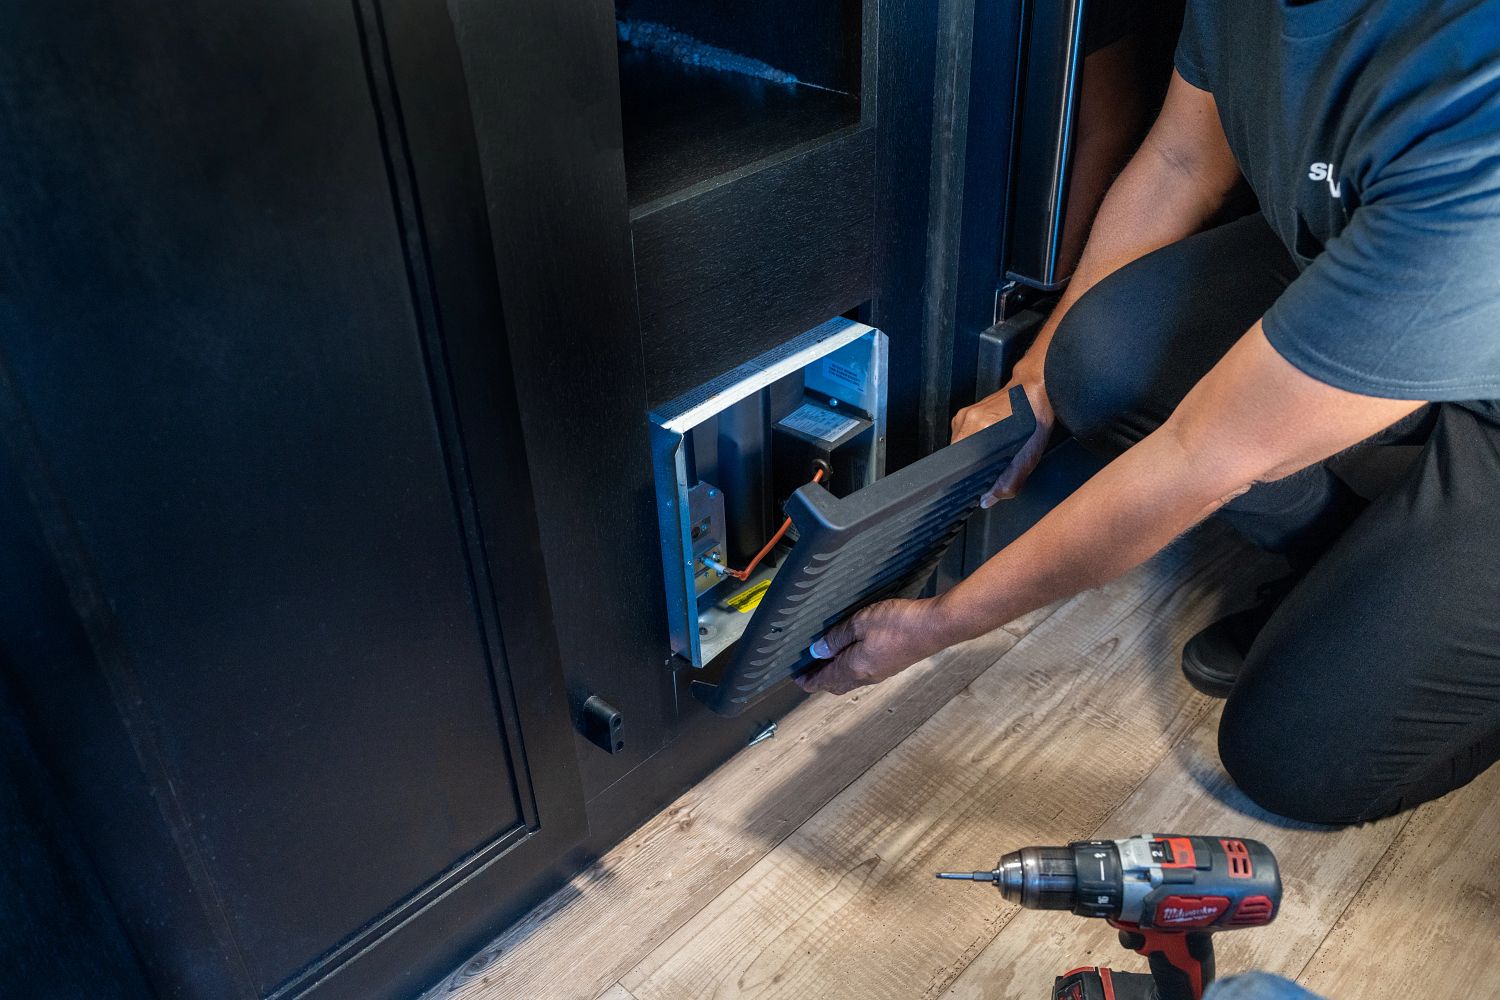
To reset most RV furnaces, you’ll simply turn off the power switch, wait about 10 seconds, and turn it back on. If your model doesn’t have a power switch, turn off the main breaker to the furnace, wait 10 seconds, and turn it back on.
If no breaker exists, remove and reinstall the fuse corresponding to your RV furnace. That’s why it’s important to have your RV’s circuit breaker panel properly labeled.
Learn more about troubleshooting RV circuit breakers.
Where is My RV Furnace Located?
Your furnace location depends on the manufacturer and the floorplan. For example, the furnace in my Sunset Park Sunlite Classic is located below the refrigerator and to the left of my circuit breaker panel.
Regardless of your floorplan, understand that the furnace itself won’t be visible. You will see a return air vent (or vents) inside your RV and the air intake/exhaust vent on the RV’s exterior. Here’s an example of what your return air and exhaust vents might look like:
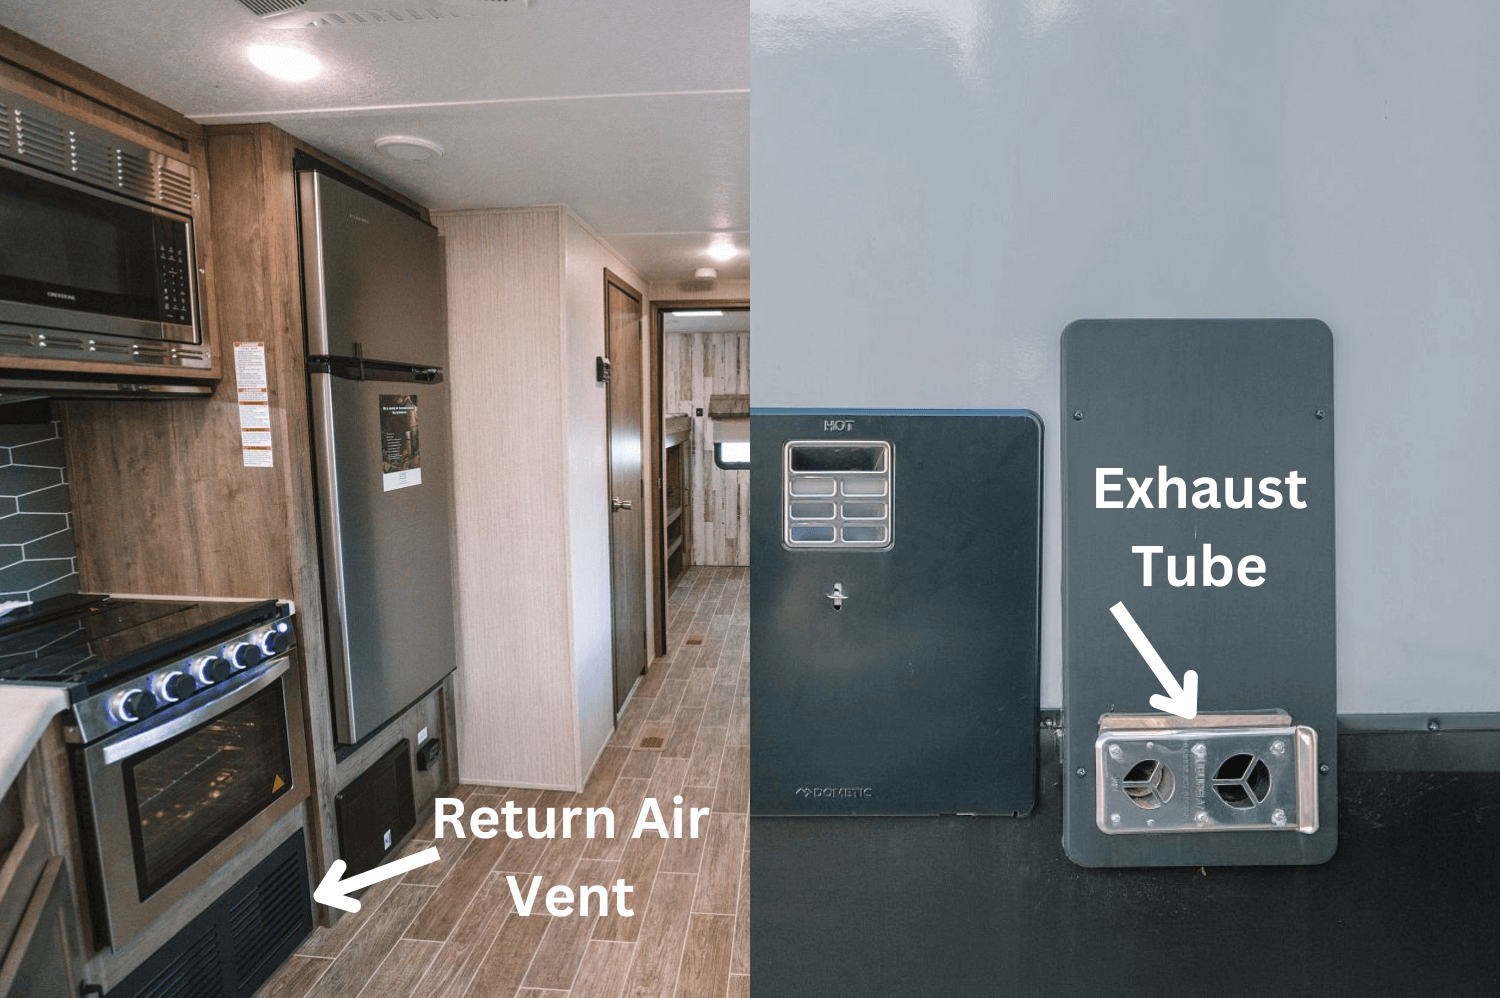
Technician Tip: It is a good practice to locate the exhaust vent on the RV’s exterior and verify the exhaust is present and clear. We’ve seen too many campers lean a lawn chair against the vent, which could present a fire danger.
If you’re shopping for an RV, it’s a good idea to look for a model with an exterior access panel to service the RV furnace. This panel isn’t included on all RVs, especially entry-level travel trailers.
How to Turn on an RV Furnace

Most RV furnaces are controlled by a wall-mounted thermostat. Depending on your make and model, you may have a digital control panel or an analog thermostat.
Most analog thermostats have a small On/Off toggle switch on top, and RVs with a digital control panel will have a display for turning your furnace on and off. In either case, your next step is to turn the thermostat up to a setting above the current ambient temperature inside your RV.
If your furnace is functioning properly, you should hear the blower motor turn on and feel air blowing out of your interior vents. Within 10-20 seconds, you should hear the pilot light ignite and feel hot air coming out of your vents shortly thereafter.
If you leave your furnace on, it should continue to cycle on and off to keep the inside of your RV at the desired temperature.
How Much Propane Does My RV Furnace Use?
To operate your RV furnace, you’ll need an adequate propane supply. If you’re not already familiar, take the time to learn about connecting and turning on propane in your RV.
The amount of propane your furnace uses depends largely on its BTU rating. BTU is short for British Thermal Units, which is a unit of heat measuring how much heat it takes to raise the temperature of one pound of water by 1℉ at sea level.
A furnace with a higher BTU rating burns propane more quickly than one with a lower rating. So your first step will be determining your furnace’s BTU rating, measured in BTUs per hour.
Before we get caught up in the numbers below, remember that your RV furnace won’t run continuously once you turn it on and adjust the thermostat. It will cycle on and off to regulate the temperature inside your coach. This is critical to remember when calculating how much propane your RV furnace uses.
Let’s provide an example:
RV and Furnace Specs (let’s use specs for the Keystone Cougar 30BHS)
- Propane Capacity: 60 pounds
- Furnace BTU Rating: 30,000 BTUs/hr
- Electric Fireplace BTU Rating: 5,500 BTUs/hr
RV Furnace Propane Consumption Calculator
To start, we must remember that propane containers can only be filled to 80% of their total capacity. So while the Cougar’s advertised propane capacity is 60 pounds, its actual capacity is 48 pounds (60 x 0.8 = 48).
We can calculate the total BTUs of 48 pounds of propane from there.
1 pound of propane = 21,548 BTUs
48 pounds of propane = 1,034,304 BTUs
If our total propane supply accounts for 1,034,304 BTUs, we can divide that by our furnace’s BTU rating to estimate how many hours our furnace would run before that supply is exhausted.
1,034,304 BTUs / 30,000 BTUs/hr = ~34.48 hours
If we run our furnace and electric fireplace simultaneously, you can actually reduce your rate of propane consumption because you’re also relying on electric heat:
30,000 BTUs – 5,500 BTUs = 24,500 BTUs
1,034,304 BTUs / 24,500 BTUs/hr = ~42.22 hours
You can insert the appropriate figures from your RV into the example above to calculate how much propane your RV furnace uses. But remember that these calculations are based on 100% run time operation.
Other variables, such as cold weather and your desired temperature setting, impact your furnace’s potential operating hours on a full LP supply. For instance, you can roughly double the number of hours your furnace will operate if you estimate a 50% duty cycle (i.e., your furnace will run for half the time you’re camping).
Here are some tips on conserving propane in your RV.
Technician Tip: Remember there are other propane appliances in your RV. The calculations above represent only the available operating hours for your RV furnace, but they can be used if you know the BTU ratings of your RV’s other appliances, such as your water heater, refrigerator, stove, oven, and outdoor grill.
How to Clean an RV Furnace
Pet hair can be a problem for certain RV furnaces. For starters, cleaning and disinfecting your RV after every trip keeps it in the best shape possible, and it’ll help your RV furnace run more efficiently.
Inside your RV, use an RV vacuum to keep dust and dander to a minimum. You can remove the return air vent to vacuum dust and pet hair around your furnace unit on some floorplans. Just turn the furnace off before doing so.
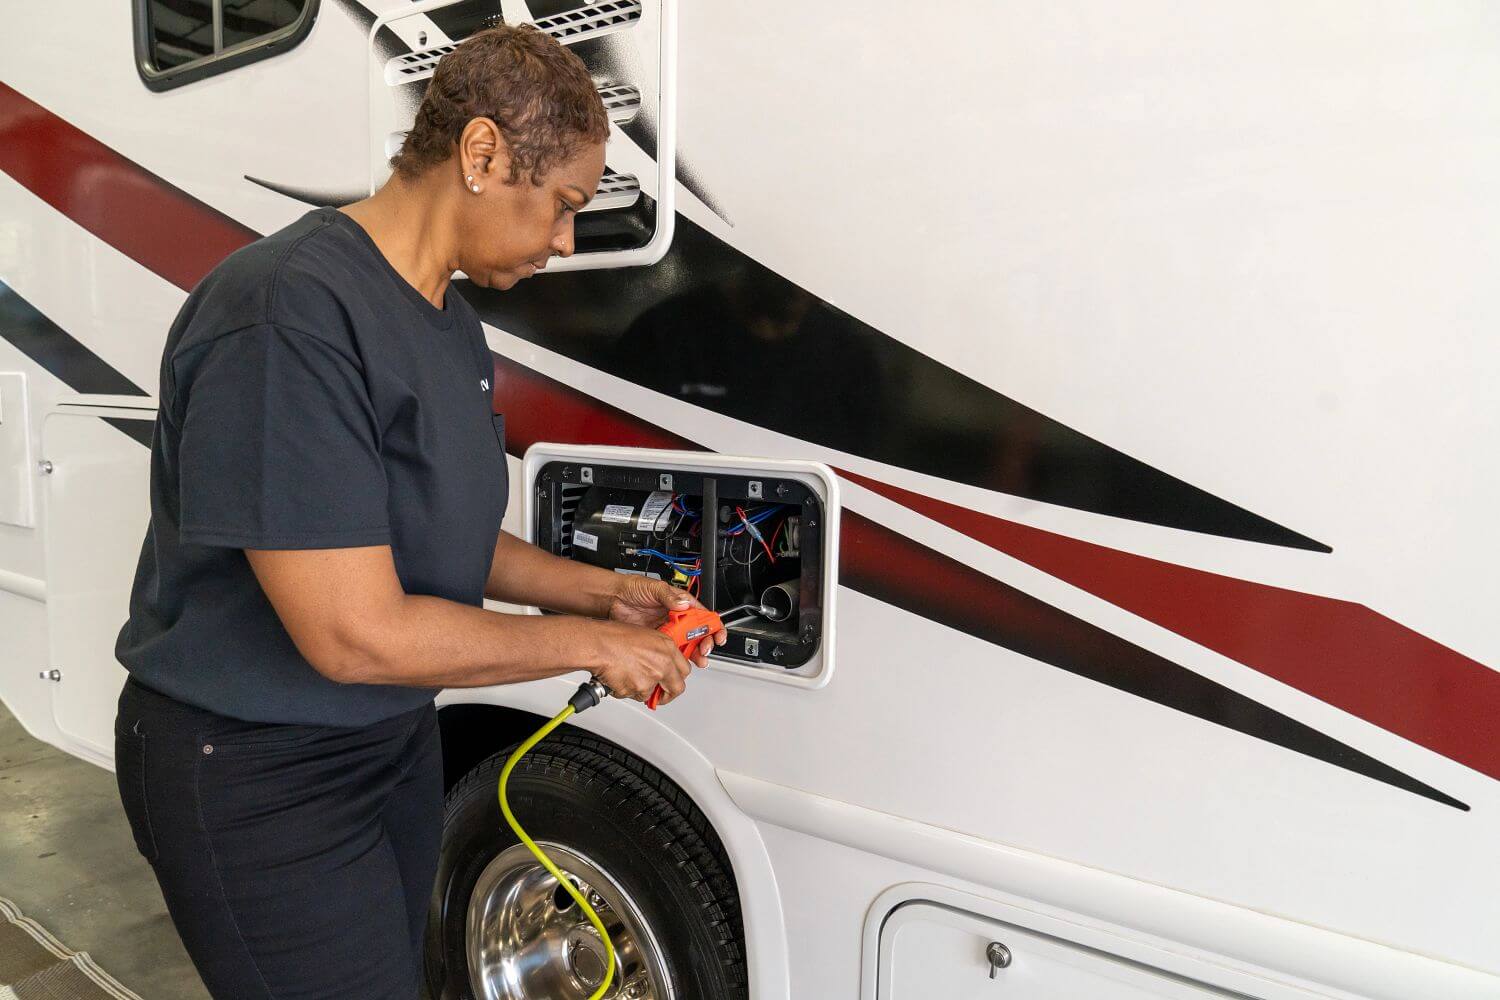
Outside your RV, use a portable air compressor to remove dust, debris, pet hair, and insect nests from your furnace’s exhaust tube. This is a good thing to add to your seasonal maintenance list when winterizing your RV in the fall and dewinterizing it to prep for spring camping.
Technician Tip: Please note that forced air furnaces (not hydronic heating systems) are designed to operate without filters. If you were to acquire and find a way to install a filter on your forced air furnace, it would void any existing warranties and create a potentially dangerous situation.
Troubleshooting RV Furnaces
Troubleshooting your RV furnace can be complex, but we have a few downloadable resources to help. You can also schedule a service appointment at your local Camping World Service Center for a professional furnace inspection.
Here’s a decision tree for troubleshooting RV furnaces.
And here’s another specifically for thermostat-related issues.
Beyond that, you can do some basic troubleshooting with the right tools.
Measuring Line Voltage Using a Digital Multimeter
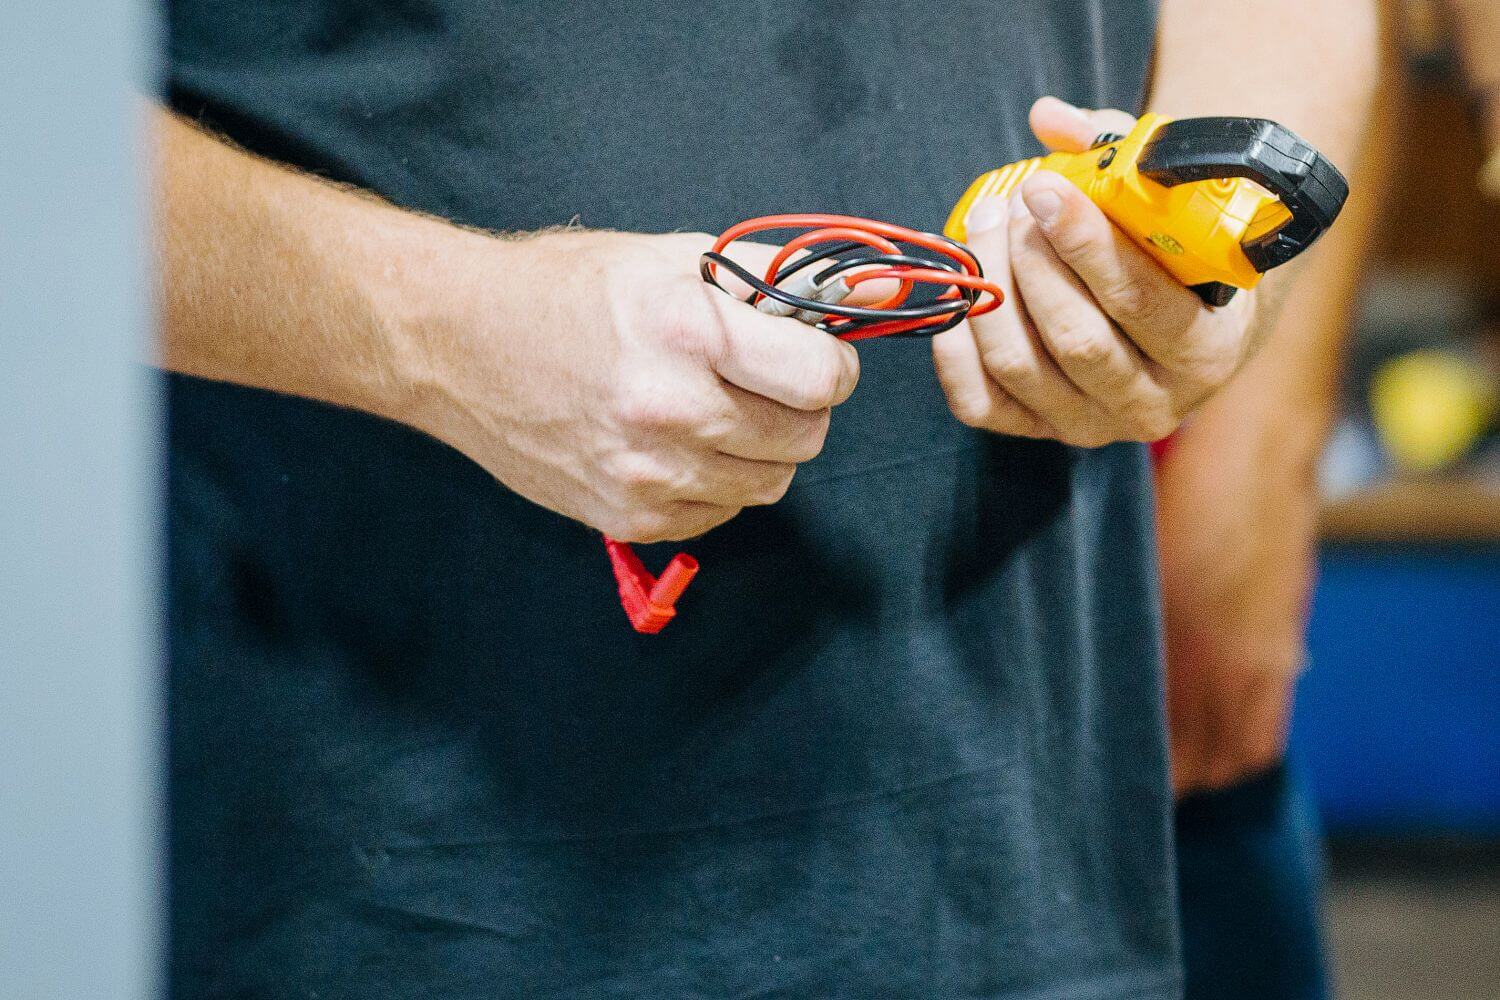
- Measure incoming voltage at the wire connections on the side of the furnace. The nominal voltage should be 10.5 to 13.5 volts DC under an unloaded condition. If less than 10.5 VDC, the blower motor won’t spin fast enough to activate the sail switch.
- Turn the furnace on and verify the ignition.
- Measure the voltage at the wire connections on the side of the furnace. The nominal voltage should be 10.5 to 13.5 volts DC under a loaded condition.
If measurements found are outside the acceptable range, you may have an issue with your RV’s DC power supply (i.e., your battery). Consult your service manual for further furnace diagnostic tips.
Evaluating Proper Airflow
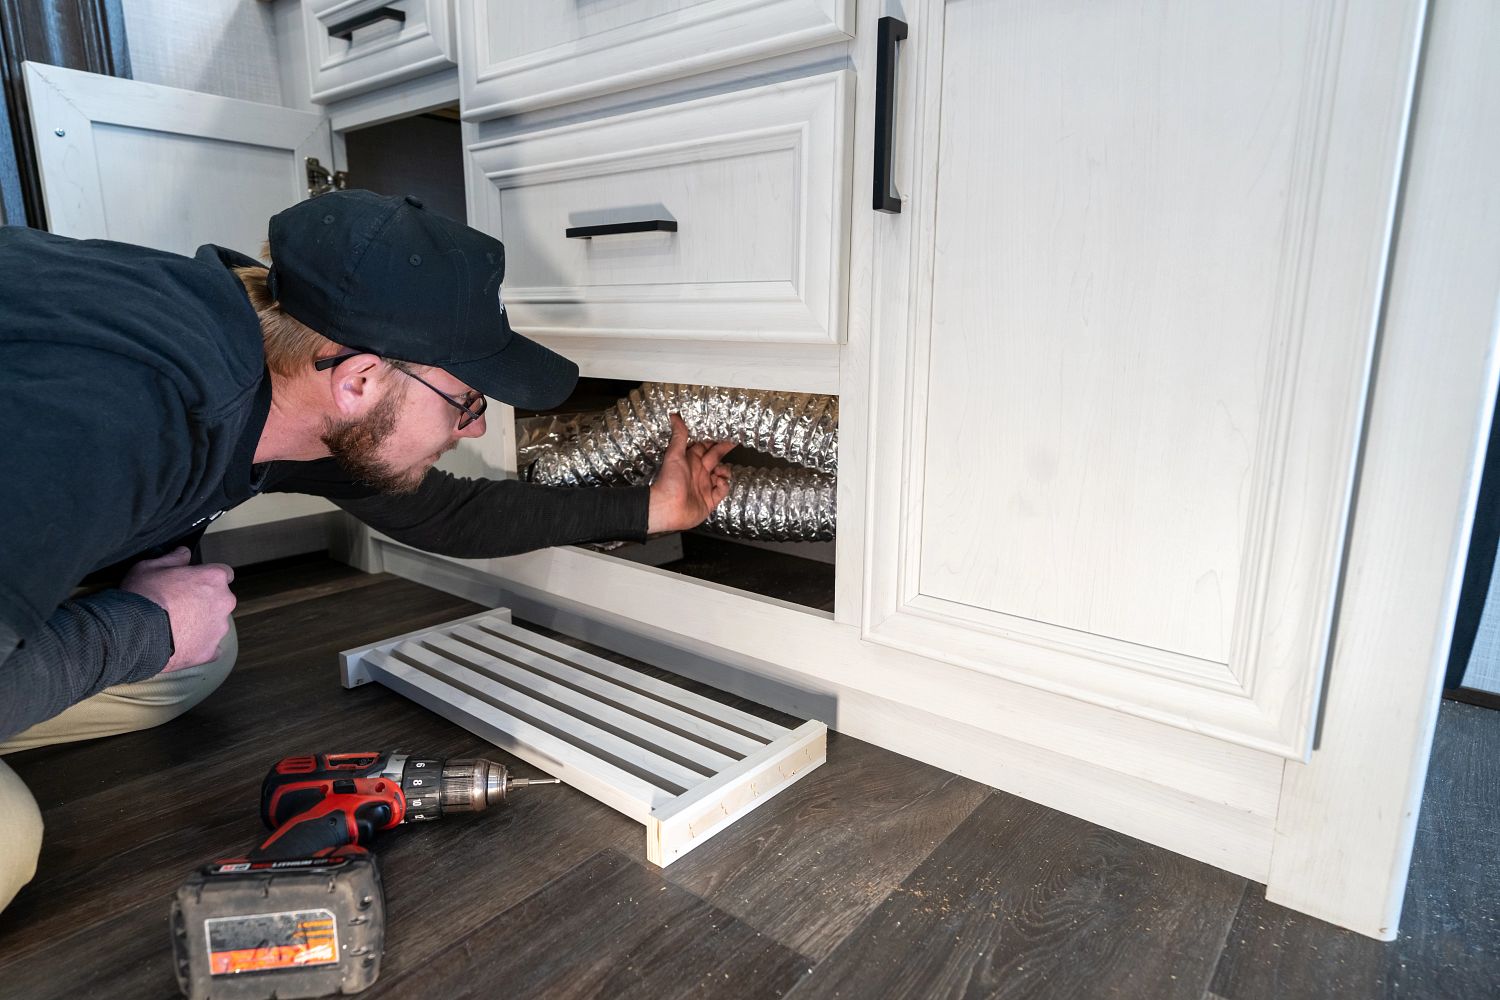
- Open all discharge registers and any closeable registers inside your RV and verify air discharge by feel (or using an airspeed indicator).
- Ensure that airflow isn’t hindered by throw rugs or other floor coverings. Hindering your furnace’s airflow can cause the limit switch to open.
- Verify that the discharge is warm and check that no carbon monoxide is present using a carbon monoxide test.
- Check the opening size for the furnace’s return airflow, ensuring it matches your unit’s operating manual specifications.
Other tests are required to verify the proper operation of your RV’s propane system – not to mention the added complexity of hydronic heating systems. If and when you’re feeling overwhelmed and stuck, please don’t hesitate to contact your local Camping World Service Center.
Do you have any other questions about furnaces and RV heating systems? Ask away in the comments below.


